
Some of our frenemies in the PaaS world, who shall remain nameless, offer a “git push” model for deployment. People are fond of it, and sometimes ask us whether they could do that on PythonAnywhere too.
The answer is: you totally can! Because PythonAnywhere is, at heart, just a web-based UI wrapped around a fully-featured Linux server environment, you can do lots and lots of things.
Here are the ingredients:
- You’ll need a paid account so that SSH access is enabled.
- You set up a bare repo on PythonAnywhere, and set it as a remote to your local code repo.
- And then you use a git hook to automatically deploy your code and reload the site on push.
Here are the steps in detail:
(This guide assumes you already have a repo containing a web app which you want to deploy).
Creating a bare repo
We create a directory, and make it into a “bare” git repo, ie, one that be
git push’d to. Let’s say you’ve been working in a local repository called mysite; you’d do this:
# From a Bash console on PythonAnywhere:
mkdir -p ~/bare-repos/mysite.git
cd !$
git init --bare
ls # should show HEAD  branches  config...
(Technically there’s no reason why the repo on PythonAnywhere needs to be your other repository’s name with “.git” on the end, but we’ll do that to keep things simple. You can call it something else if you want to, but it should end with “.git” – that’s the convention for bare repos.)
Setting up a post-receive hook on the server
Next, navigate to your bare repository (in the file browser, or using a console-based editor like vim if you prefer), and create a new file at ~/bare-repos/mysite.git/hooks/post-receive. The name matters for this file!
#!/bin/bash
mkdir -p /var/www/sites/mysite
GIT_WORK_TREE=/var/www/sites/mysite git checkout -f
A bare repo doesn’t have a working tree, it just stores your repository
in the magical git database format, with all the hashes and other voodoo.
The git checkout -f along with the GIT_WORK_TREE variable will tell
git to checkout an actual working tree with real code, to the specified
location. You can put this wherever you like..…
More info in the git docs and in this how-to guide
Now we just need to make the hook executable:
# In a Bash console on PythonAnywhere:
chmod +x ~/bare-repos/mysite.git/hooks/post-receive
Adding PythonAnywhere as a remote in your local repo
Back on your own PC, in the git repo for your web app, adding the remote is a single command, and then we can do our first push to it to make sure everything works:
# In your local code repo. Substitute in your own username + path
git remote add pythonanywhere myusername@ssh.pythonanywhere.com:/home/myusername/bare-repos/mysite.git

git push -u pythonanywhere master
# output should end with "Branch master set up to track remote branch master from pythonanywhere."
- Reminder: you need a paid account for this to work I’m afraid, because the git protocol relies on SSH.
You may get asked for your password at this point. If so, I strongly recommending setting up private key authentication instead, with a passphrase-encrypted private key on your machine, and adding your public key to ~/.ssh/authorized_keys on the server. There’s a good guide here.
Checking it worked
# From a Bash console on PythonAnywhere:
ls /var/www/sites/mysite # should show your code!
Setting up your PythonAnywhere web app
If you want to use your own domain for this step, I’ll assume you already have it set up on your registrar with a CNAME pointing at yourusername.pythonanywhere.com. More info.
We’ve now got our code on the server, let’s set it up as a PythonAnywere web app. This should be a one-off operation.
- Go to the Web tab
- Add a new web app
- Enter its domain name
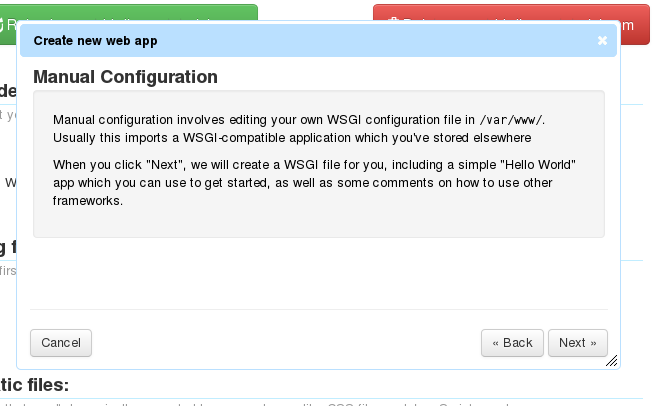
- Choose “Manual Configuration”, and then choose your Python version
- Hit next and see the “All done” message
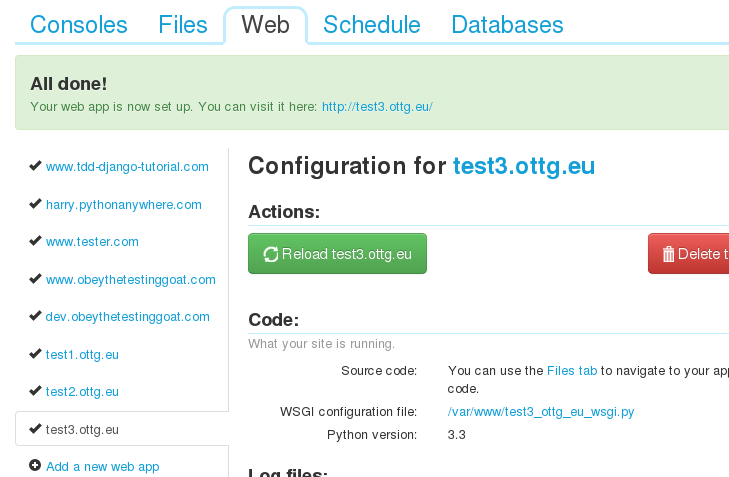
Next, edit your WSGI file, and make it point at the wsgi app in your code. I was using a Django app, so mine looked like this:
# /var/www/www_mydomain_com_wsgi.py
import os
import sys

path = '/var/www/sites/mysite'
if path not in sys.path:
    sys.path.append(path)

os.environ['DJANGO_SETTINGS_MODULE'] = 'superlists.settings'

from django.core.wsgi import get_wsgi_application
application = get_wsgi_application()
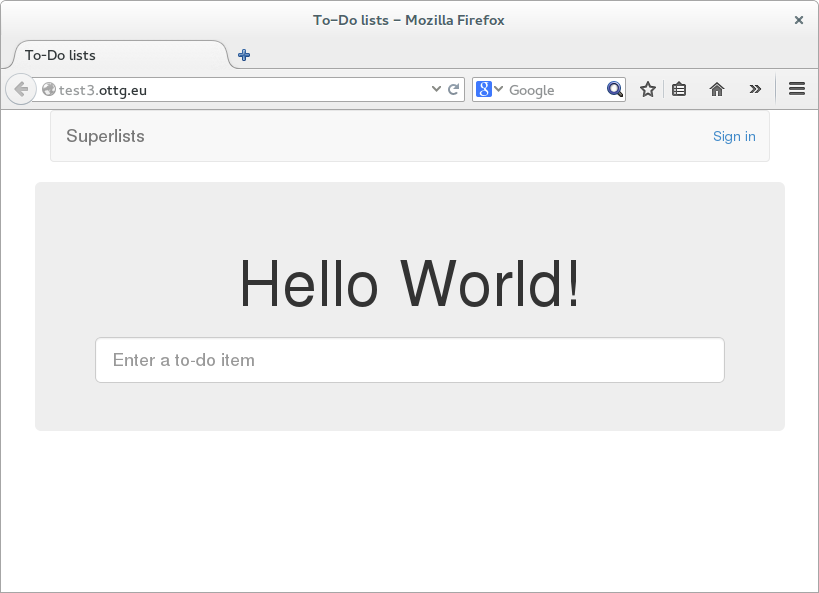
Go back to the web app tab, hit “Reload”, and make sure your site works. It took me a couple of goes to get it right!
NB: There are some subtleties here, like getting static files and your database config working, which I’ll gloss over for now. See the example at the end for some inspiration though – you can definitely get almost anything to work!
Adding to our post-receive hook to automatically reload the site
This is the last step – we use a sekrit, undocumented feature of
PythonAnywhere, which is that our web workers actually watch the
WSGI file for changes, so if you touch it, your web app will reload
automatically.
So, back in ~/bare-repos/mysite.git/hooks/post-receive:
#!/bin/bash
GIT_WORK_TREE=/var/www/sites/mysite git checkout -f
touch /var/www/www_mydomain_com_wsgi.py
Substitute in the path to your own WSGI file.
Testing it works
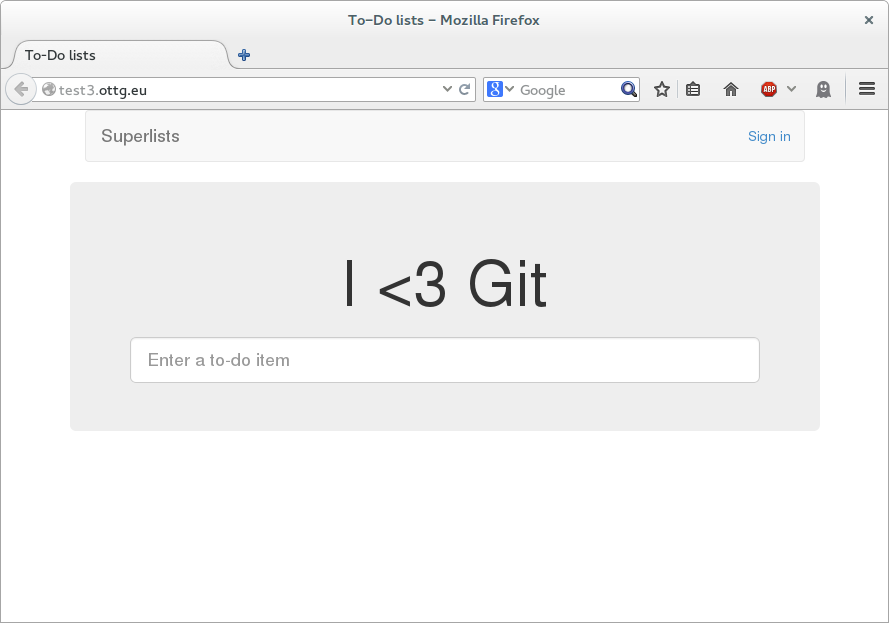
Back on your own PC, make a trivial but visible change to your app, and then:
git commit -am"test change to see if push to pa works"
git push pythonanywhere
It should just take a few seconds (although sometimes it takes as long as a minute) for the web worker to notice the touch to your web app, and then reload your site in your web browser… You should see your changes!
More fun in the post-receive hook
You can do pretty much anything you like in the post-receive, so for example:
#!/bin/bash

set -e # exit if anything fails

# run unit tests in a temp folder
mkdir -p /tmp/testcheckout
GIT_WORK_TREE=/tmp/testcheckout git checkout -f
python3 /tmp/testcheckout/manage.py test lists
rm -rf /tmp/testcheckout

# checkout new code
mkdir -p /var/www/sites/mysite
GIT_WORK_TREE=/var/www/sites/mysite git checkout -f

# update static files and database
python3 /var/www/sites/mysite/manage.py collectstatic -y
python3 /var/www/sites/mysite/manage.py migrate -y

# bounce web app
touch /var/www/test3_ottg_eu_wsgi.py
And so on. When you get it working, why not let us know! If this turns out to be popular, we may look to automate some of the steps as features…
Image credit: Human Pictogram 2.0 at pictogram2.com